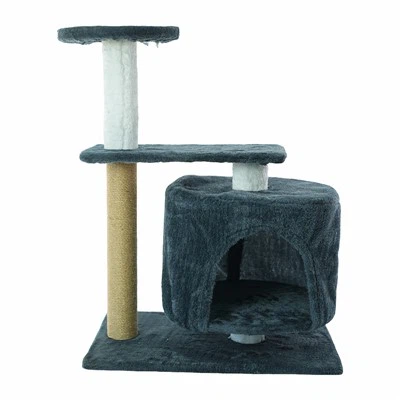
Hey there, fellow cat lovers! As a cat scratching board supplier, I've seen firsthand how important it is to have a proper scratching solution for our feline friends. Not only does it save our furniture from being shredded, but it also provides cats with a healthy outlet for their natural scratching instincts. One of the best ways to offer a scratching option is by attaching a cat scratching board to the wall. In this blog post, I'll walk you through the process step by step.
Why Attach a Cat Scratching Board to the Wall?
First off, let's talk about why you'd want to attach a scratching board to the wall. Wall-mounted scratching boards take up less floor space, which is great if you live in a small apartment or have limited room. They also allow cats to stretch fully while scratching, which is super beneficial for their muscles and joints. Plus, it can keep the scratching activity in a specific area, away from your couch or curtains.
Choosing the Right Cat Scratching Board
Before you start attaching anything to the wall, you need to pick the right scratching board. At our store, we have a variety of options to suit different cat preferences.
If your cat loves circular motions, the Round Cat Scratch Toy is a great choice. It provides a unique scratching surface that can keep your cat entertained for hours.
For cats that like to stretch and scratch in an arched position, the Arch Shaped Cat Scratching Board is perfect. Its shape mimics the natural stretching motion of cats, making it very appealing.
And if you're looking for an added bonus, the Cat Scratching Board That Trims Nails is a fantastic option. It helps keep your cat's nails in good condition while they scratch.
Tools You'll Need
Once you've chosen the right scratching board, it's time to gather the tools. Here's what you'll need:
- A drill (if you're using screws)
- Screwdriver (if the board comes with pre-drilled holes and you're using screws)
- Wall anchors (especially if you're drilling into drywall)
- Measuring tape
- Pencil
- Level
Step-by-Step Guide to Attaching the Cat Scratching Board
Step 1: Choose the Location
The first step is to decide where you want to attach the scratching board. Look for a spot that your cat frequents, like near their bed or in a common play area. Make sure it's at a height where your cat can easily reach it. A good rule of thumb is to place it at a height where your cat can stretch fully while scratching.
Step 2: Measure and Mark
Use your measuring tape to measure the height and width of the scratching board. Then, use a pencil to mark the spots on the wall where you'll be attaching it. Make sure the marks are level using a level. This will ensure that the scratching board is straight and secure.
Step 3: Drill Holes (if necessary)
If your scratching board comes with pre-drilled holes, you can skip this step. But if it doesn't, you'll need to drill holes in the wall. If you're drilling into drywall, it's a good idea to use wall anchors to provide extra support. Insert the wall anchors into the holes once you've drilled them.
Step 4: Attach the Scratching Board
Now it's time to attach the scratching board to the wall. If you're using screws, place the board against the wall and align the holes with the marks you made. Then, use a screwdriver or drill to insert the screws through the holes in the board and into the wall or wall anchors. Make sure the screws are tightened securely, but don't over-tighten them, as this could damage the board.
Step 5: Check for Stability
Once the scratching board is attached, give it a gentle tug to make sure it's stable. If it wiggles or feels loose, you may need to tighten the screws or add additional support.
Tips for Encouraging Your Cat to Use the Scratching Board
Attaching the scratching board to the wall is just the first step. You also need to encourage your cat to use it. Here are some tips:
- Rub some catnip on the board. Most cats love catnip, and it can make the scratching board more appealing.
- Play with your cat near the scratching board. Use a toy to get them interested in the area.
- Praise your cat when they use the scratching board. Positive reinforcement can go a long way in teaching your cat good habits.
Maintenance and Care
To keep the scratching board in good condition and your cat happy, you'll need to do some maintenance. Regularly check the board for signs of wear and tear. If the surface starts to get too rough or worn, it may be time to replace it. You can also vacuum the board occasionally to remove loose fibers and debris.
Conclusion
Attaching a cat scratching board to the wall is a great way to provide your cat with a safe and appropriate place to scratch. By following these steps and choosing the right scratching board, you can keep your furniture safe and your cat entertained.


If you're interested in purchasing a high-quality cat scratching board for your furry friend, feel free to reach out to us. We're always happy to help you find the perfect product for your cat's needs. Let's make sure your cat has the best scratching experience possible!
References
- "The Cat Owner's Manual" by John Bradshaw
- Various cat behavior studies from reputable animal behavior research institutions.